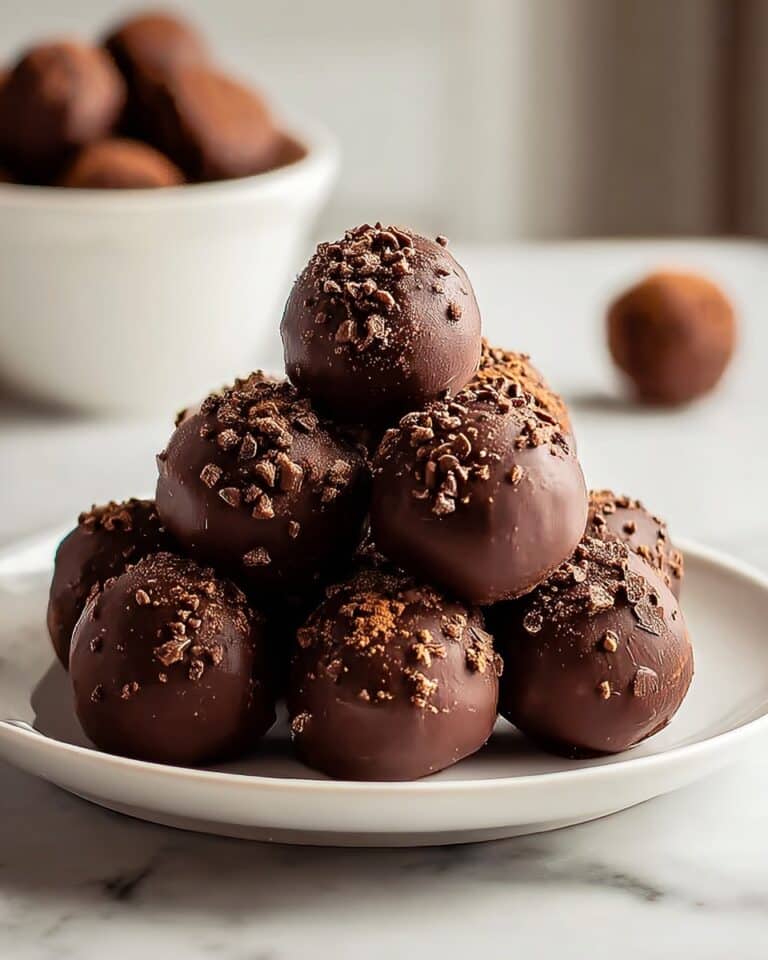
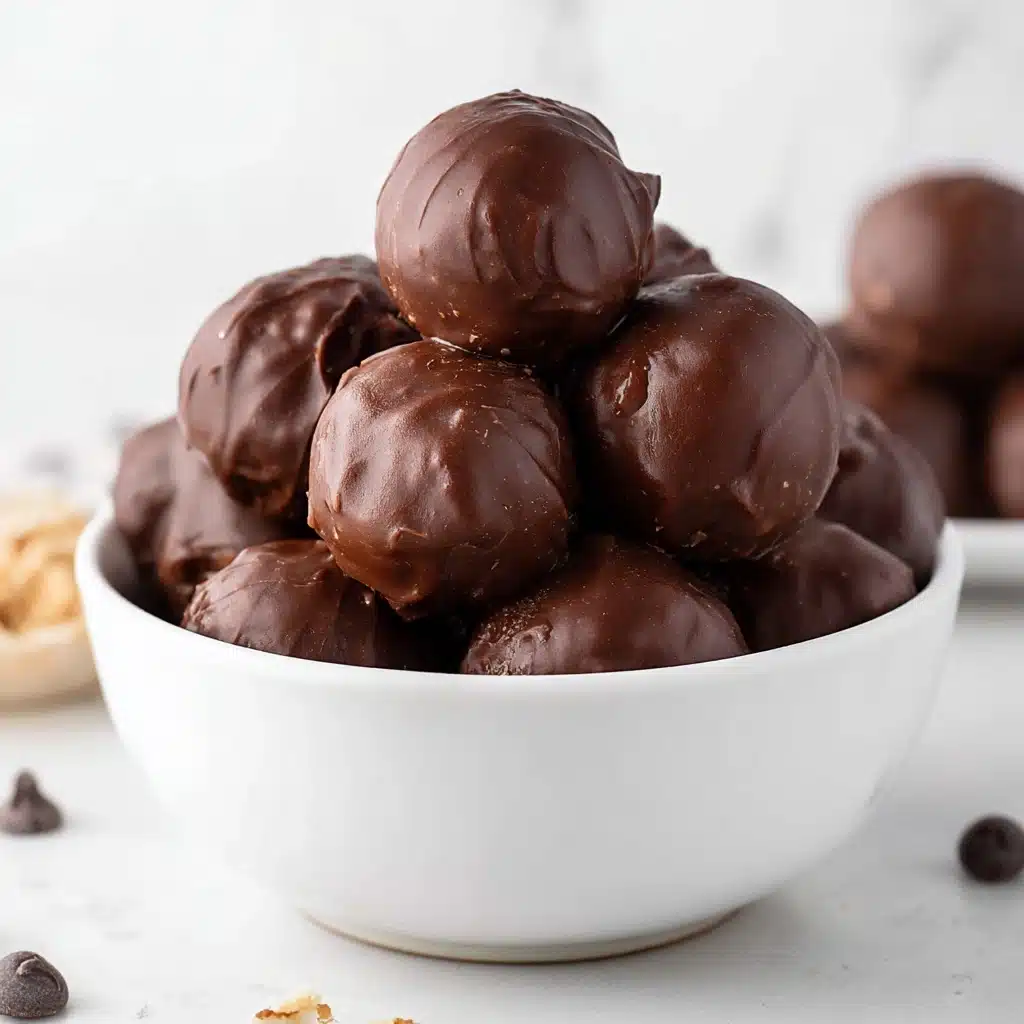
Peanut Butter Balls with Rice Krispies Recipe
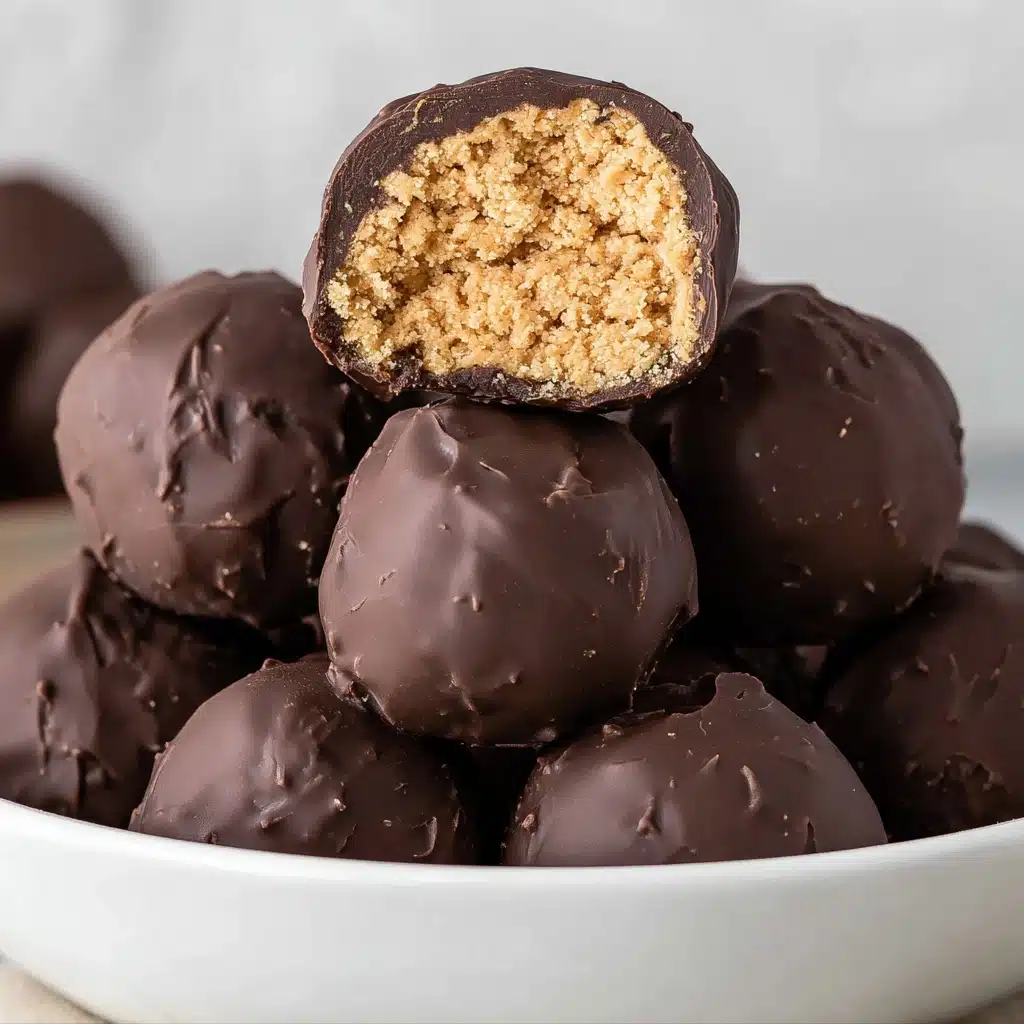
If you are looking for a nostalgic treat that perfectly balances creamy, crunchy, and chocolaty goodness, you have to try these Peanut Butter Balls with Rice Krispies. This delightful no-bake dessert combines smooth peanut butter with the satisfying crunch of Rice Krispies cereal, all enveloped in a luscious chocolate coating. It’s a crowd-pleaser that’s easy to whip up, making it an irresistible snack or sweet bite to share with friends and family. Trust me, once you’ve tasted these Peanut Butter Balls with Rice Krispies, you’ll be reaching for the recipe again and again.
Ingredients You’ll Need
The magic of these Peanut Butter Balls with Rice Krispies lies in the simplicity of their ingredients. Each component plays an essential role, from the rich creaminess of peanut butter to the crisp texture of the cereal, and finally the smooth chocolate that ties everything together. Here’s what you’ll need:
- 1 cup creamy no stir peanut butter: Provides a creamy base with a rich, nutty flavor that everyone loves.
- 3 tablespoons salted butter (melted): Adds a smooth texture and a hint of saltiness to balance the sweetness.
- 1 cup powdered sugar: Sweetens the mixture while helping it firm up perfectly for rolling.
- 2 ½ cups Rice Krispies cereal: Brings a crunchy texture that makes these bites so delightfully crispy.
- 12 oz semi-sweet chocolate chips or melting wafers: For dipping and coating the balls in luscious, melt-in-your-mouth chocolate.
How to Make Peanut Butter Balls with Rice Krispies
Step 1: Mix the Peanut Butter and Melted Butter
Start by combining the creamy peanut butter and melted salted butter in a mixing bowl. Using a hand mixer or a stand mixer, blend these two ingredients until perfectly smooth and combined. This creates the rich, luscious base that holds your Peanut Butter Balls with Rice Krispies together.
Step 2: Incorporate the Rice Krispies
Next, gently fold in the Rice Krispies cereal. The cereal adds that essential crunch, creating a lovely texture contrast to the creamy peanut butter. Make sure everything is evenly mixed but avoid stirring too vigorously, so the cereal stays crispy.
Step 3: Add the Powdered Sugar
Sprinkle in the powdered sugar and continue mixing. This ingredient sweetens the blend and helps the mixture thicken to a consistency that’s easy to shape. At some point, the mixture will become too stiff for the mixer, so switch to a rubber spatula to finish combining everything fully.
Step 4: Chill and Shape the Peanut Butter Mixture
Line a baking sheet with parchment paper to prevent sticking. Scoop out portions of the mixture with a cookie scoop or spoon and roll them with your hands into bite-sized balls. Arrange them neatly on the prepared sheet, then pop them into the fridge for at least 30 minutes. Chilling helps the balls set so they hold their shape when dipped in chocolate.
Step 5: Dip in Melted Chocolate
Melt your semi-sweet chocolate chips or melting wafers in the microwave, stirring every 20-30 seconds until smooth. Using a fork or dipping tool, coat each chilled peanut butter ball completely in chocolate, then return them to the parchment-lined sheet. This chocolate coat adds richness and a glossy finish to your Peanut Butter Balls with Rice Krispies.
Step 6: Final Chill to Set
Place the chocolate-dipped peanut butter balls back into the fridge until the chocolate hardens completely. This final step ensures a satisfying snap when you bite into these treats and makes them perfect for handling and serving.
How to Serve Peanut Butter Balls with Rice Krispies
Garnishes
While these Peanut Butter Balls with Rice Krispies are divine on their own, a little extra flair never hurts. Sprinkle some crushed peanuts, a drizzle of white chocolate, or a light dusting of cocoa powder over the chocolate coating before it sets for added texture and visual appeal.
Side Dishes
Pair these peanut butter balls with a cold glass of milk or a cup of rich coffee. They also make an excellent sweet finish to a savory meal like barbecue or a casual picnic, balancing smoky flavors with creamy sweetness.
Creative Ways to Present
Serve these little delights in mini cupcake liners for a charming presentation at parties or gift them in a decorative tin for holiday treats. Arrange them on a platter with fresh fruit or nuts for an inviting and colorful dessert spread.
Make Ahead and Storage
Storing Leftovers
If you find yourself with leftover Peanut Butter Balls with Rice Krispies, keep them fresh by storing them in an airtight container in the refrigerator. They will stay delicious for several days, making them a perfect make-ahead treat.
Freezing
For longer storage, freeze these peanut butter balls. Place them in a single layer on a baking sheet until frozen, then transfer to a freezer-safe container or bag. They’ll keep well for up to a few weeks, ready for a quick defrost and snack whenever you crave.
Reheating
Since these are no-bake treats covered in chocolate, reheating isn’t necessary and can cause the chocolate to soften too much. Instead, let frozen balls thaw in the fridge for a few hours before serving to maintain their perfect texture.
FAQs
Can I use crunchy peanut butter instead of creamy?
Absolutely! Using crunchy peanut butter will add an extra layer of texture to the Peanut Butter Balls with Rice Krispies. Just keep in mind it might make the mixture a bit more crumbly.
What if I don’t have Rice Krispies cereal on hand?
You can substitute with other crispy cereals like cornflakes or puffed rice. The key is to maintain that nice crunch that complements the creamy peanut butter.
Is it possible to make these peanut butter balls vegan?
Yes, by using a plant-based butter substitute and dairy-free chocolate chips along with a vegan peanut butter, you can make a delicious vegan version of Peanut Butter Balls with Rice Krispies.
How long will these peanut butter balls stay fresh?
When stored properly in the refrigerator, these treats will stay fresh and tasty for up to 5 days. For longer storage, freezing is your best bet.
Can I add flavors like vanilla or cinnamon to the mixture?
Definitely! A splash of vanilla extract or a pinch of cinnamon can complement the peanut butter flavor beautifully and give your Peanut Butter Balls with Rice Krispies a unique twist.
Final Thoughts
There’s something truly comforting about Peanut Butter Balls with Rice Krispies that makes them a cherished favorite. They bring together simple ingredients to create a snack that’s crunchy, creamy, chocolaty, and downright addictive. I can’t wait for you to try making these yourself and share the joy they bring. Go ahead, whip up a batch and watch them disappear faster than you can say “yum!”
PrintPeanut Butter Balls with Rice Krispies Recipe

Delicious and easy-to-make Peanut Butter Balls with Rice Krispies, coated in smooth semi-sweet chocolate. These no-bake treats combine creamy peanut butter, crunchy cereal, and a sweet chocolate shell for a perfect bite-sized snack or dessert.
- Prep Time: 15 minutes
- Cook Time: 0 minutes
- Total Time: 45 minutes (includes chilling time)
- Yield: About 24 peanut butter balls 1x
- Category: Dessert, Snack
- Method: No-Bake, Mixing, Dipping
- Cuisine: American
- Diet: Vegetarian
Ingredients
Peanut Butter Mixture
- 1 cup creamy no stir peanut butter
- 3 tablespoons salted butter, melted
- 1 cup powdered sugar
- 2 ½ cups Rice Krispies cereal
Chocolate Coating
- 12 oz semi sweet chocolate chips or chocolate melting wafers
Instructions
- Combine Peanut Butter and Butter: Use a KitchenAid or hand mixer to blend the creamy peanut butter and melted salted butter until smooth and well incorporated.
- Add Rice Krispies Cereal: Gradually fold in the Rice Krispies cereal, mixing gently to combine without crushing the cereal.
- Add Powdered Sugar: Stir in the powdered sugar. When the mixture becomes too stiff to mix with the mixer, finish combining with a rubber spatula to ensure even distribution.
- Prepare Baking Sheet: Line a baking sheet with parchment paper for easy cleanup and to keep the peanut butter balls from sticking.
- Scoop and Shape: Use a cookie scoop to portion out the mixture onto the baking sheet. Then, roll each portion into smooth, compact balls using your hands.
- Chill Peanut Butter Balls: Place the shaped balls in the refrigerator for at least 30 minutes to firm up and make them easier to dip.
- Melt Chocolate: Melt the semi sweet chocolate chips in the microwave in short bursts, stirring between each, until completely smooth and glossy.
- Dip Peanut Butter Balls: Dip each chilled peanut butter ball into the melted chocolate, coating completely, then return to the parchment-lined baking sheet.
- Chill Until Firm: Refrigerate the chocolate-coated balls until the chocolate is set and firm to the touch.
- Store Properly: Keep leftover peanut butter balls in an airtight container in the refrigerator for several days or freeze for several weeks for longer storage.
Notes
- For easier rolling, lightly wet your hands before shaping the balls.
- You can substitute crunchy peanut butter for added texture.
- Use chocolate melting wafers for a smoother, glossier coating if preferred.
- Store peanut butter balls in the refrigerator to maintain freshness and firmness.
- Feel free to add a pinch of salt if you want a slightly saltier flavor contrast.
Nutrition
- Serving Size: 1 ball (approx. 20g)
- Calories: 110
- Sugar: 8g
- Sodium: 75mg
- Fat: 7g
- Saturated Fat: 3g
- Unsaturated Fat: 4g
- Trans Fat: 0g
- Carbohydrates: 10g
- Fiber: 1g
- Protein: 3g
- Cholesterol: 7mg
Keywords: Peanut Butter Balls, Rice Krispies Treats, No Bake Dessert, Chocolate Covered Snacks, Easy Peanut Butter Recipe