Kimchi Mac and Cheese Recipe
Introduction
Kimchi Mac and Cheese offers a delightful twist on the classic comfort food by adding a spicy, tangy kick from Korean kimchi. This creamy, cheesy dish balances bold flavors with familiar textures, making it a perfect fusion meal for adventurous home cooks.
Ingredients
- 1 lb dried elbow pasta
- 8 tablespoons unsalted butter
- 3/4 cup kimchi juice (190 g)
- 1 cup kimchi (200 g, finely chopped)
- 1 tablespoon gochujang
- 2 teaspoons gochugaru
- 1 teaspoon salt
- 1/2 teaspoon white pepper
- 1/2 cup all-purpose flour (70 g)
- 3 1/2 cups whole milk
- 2 cups sharp cheddar cheese (200 g, grated)
- 3 cups mozzarella cheese (300 g, grated)
- 1/2 cup sharp cheddar cheese (grated for topping)
- 1/2 cup mozzarella cheese (grated for topping)
- 2 stalks green onion (chopped)
Instructions
- Step 1: Cook the pasta in a large pot of salted boiling water according to the package instructions until al dente. Reserve some pasta water, then drain and set aside.
- Step 2: Preheat your oven to 350°F (180°C) and position the wire rack in the center.
- Step 3: In a medium saucepan over medium-high heat, melt the butter. Add chopped kimchi, kimchi juice, gochujang, gochugaru, salt, and white pepper. Sauté for 2-3 minutes until the mixture reduces slightly.
- Step 4: Whisk in the flour to form a roux, cooking for 2-3 minutes while whisking continuously until the sauce thickens.
- Step 5: Gradually pour in the whole milk while whisking to prevent lumps, stirring until the sauce is smooth, about 1 minute.
- Step 6: Reduce heat to low or medium-low and add the grated cheddar and mozzarella cheeses. Stir until completely melted and smooth, about 1-2 minutes. If the sauce is too thick, add reserved pasta water one tablespoon at a time to reach desired consistency.
- Step 7: Gently fold the cooked pasta into the cheese sauce until well coated.
- Step 8: Transfer the mixture to an oven-safe dish. Sprinkle the remaining cheddar and mozzarella cheeses on top.
- Step 9: Bake for 25 minutes until golden and bubbly. For extra color, broil for 2-3 minutes, watching carefully to avoid burning.
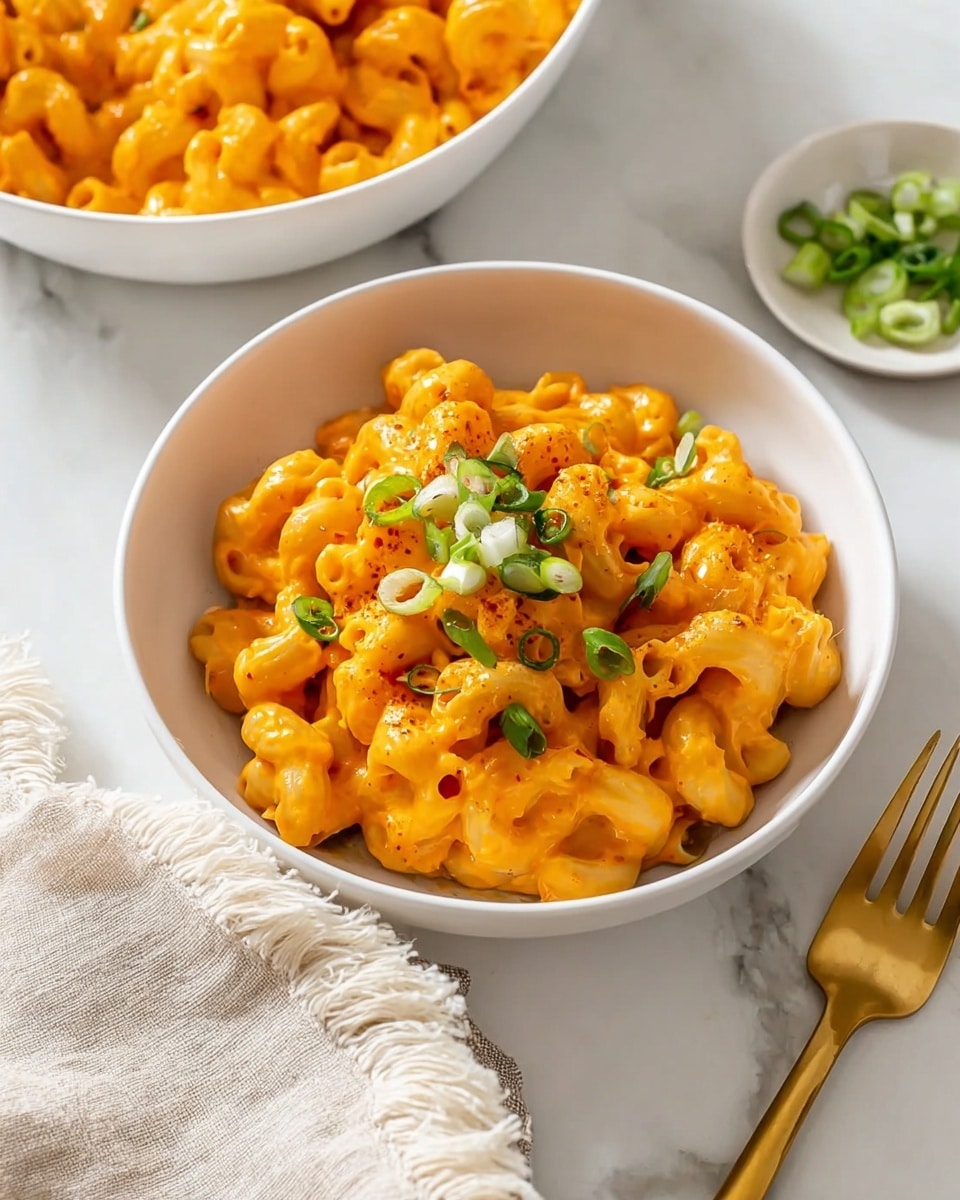
- Step 10: Remove from oven, garnish with chopped green onions, and serve immediately. Enjoy the spicy, cheesy goodness!
Tips & Variations
- For a crunchy topping, sprinkle panko bread crumbs over the cheese before baking.
- Adjust the level of spice by varying the amount of gochujang and gochugaru to suit your taste.
- Use a mix of cheeses like Monterey Jack or Gruyère for a different flavor profile.
- If you prefer a milder kimchi flavor, reduce the amount of kimchi juice and chopped kimchi slightly.
Storage
Store leftovers in an airtight container in the refrigerator for up to 3 days. Reheat gently in the oven or microwave, adding a splash of milk or reserved pasta water to loosen the sauce if it thickens too much.
How to Serve
Serve this delicious recipe with your favorite sides.
FAQs
Can I use fresh kimchi instead of bottled kimchi juice?
Yes, you can substitute with extra chopped kimchi, but you may need to adjust the amount of added liquid to maintain the sauce consistency.
Is it possible to make this recipe vegan or dairy-free?
You can try using plant-based butter and dairy-free cheeses, along with a non-dairy milk like almond or oat milk. Keep in mind the flavor and texture will differ from the original.
PrintKimchi Mac and Cheese Recipe

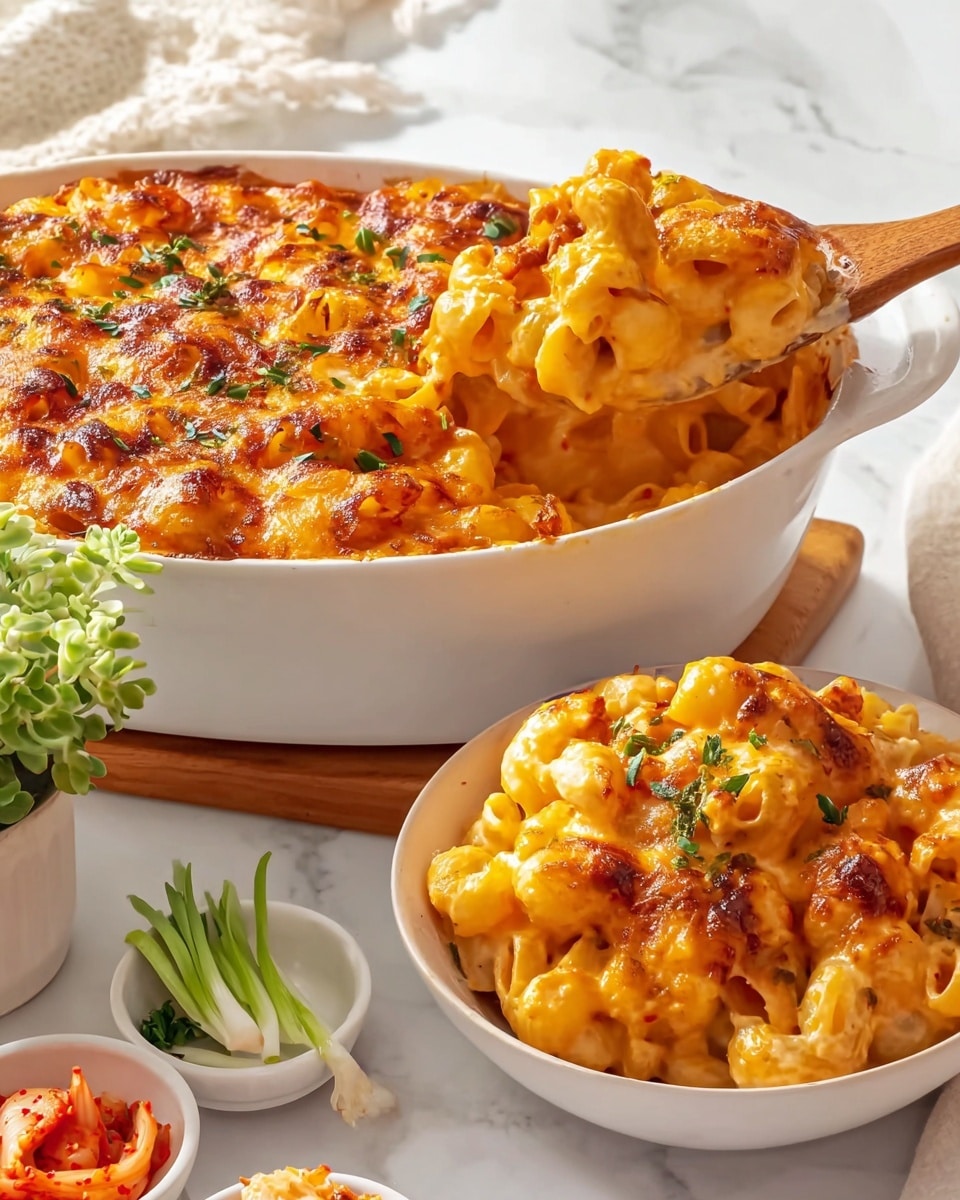
A rich and flavorful twist on classic mac and cheese, Kimchi Mac and Cheese blends creamy cheddar and mozzarella cheeses with spicy, tangy kimchi and Korean chili paste, baked to a golden, bubbly perfection and topped with a crispy cheese crust and fresh green onions.
- Prep Time: 20 minutes
- Cook Time: 40 minutes
- Total Time: 1 hour
- Yield: 6–8 servings 1x
- Category: Main Course
- Method: Baking
- Cuisine: Korean-American Fusion
Ingredients
Pasta
- 1 lb dried elbow pasta
Sauce
- 8 tablespoons unsalted butter
- 3/4 cup kimchi juice (190 g)
- 1 cup kimchi, finely chopped (200 g)
- 1 tablespoon gochujang
- 2 teaspoons gochugaru
- 1 teaspoon salt
- 1/2 teaspoon white pepper
- 1/2 cup all-purpose flour (70 g)
- 3 1/2 cups whole milk
- 2 cups sharp cheddar cheese, grated (200 g)
- 3 cups mozzarella cheese, grated (300 g)
Toppings
- 1/2 cup sharp cheddar cheese, grated
- 1/2 cup mozzarella cheese, grated
- Panko bread crumbs (approx. 1/2 cup for topping)
- 2 stalks green onion, chopped
Instructions
- Cook the Pasta. Boil the dried elbow pasta in a large pot of salted water according to the package instructions until al dente. Reserve a small amount of pasta water and then drain the pasta thoroughly. Set aside.
- Prepare the Oven. Preheat your oven to 350°F (180°C) and position the wire rack in the center to ensure even baking.
- Make the Kimchi Roux. In a medium saucepan over medium-high heat, melt the unsalted butter. Add the finely chopped kimchi, kimchi juice, gochujang, gochugaru, salt, and white pepper. Sauté the mixture for 2-3 minutes until it reduces slightly and becomes aromatic. Then whisk in the all-purpose flour to form a roux. Continue cooking and whisking for 2-3 minutes until the mixture thickens.
- Add the Milk. Gradually pour in the whole milk while whisking continuously to avoid lumps. Cook for about 1 minute until the sauce is smooth and combined.
- Add the Cheeses. Reduce the heat to low or medium-low. Stir in the grated sharp cheddar and mozzarella cheeses until fully melted and the sauce is creamy and smooth, about 1-2 minutes. If the sauce seems too thick, add reserved pasta water one tablespoon at a time to reach desired consistency.
- Combine Pasta and Sauce. Gently fold the cooked pasta into the cheese sauce, making sure all pasta is evenly coated.
- Bake. Transfer the cheesy pasta mixture into an oven-safe baking dish. Evenly sprinkle the remaining sharp cheddar, mozzarella cheese, and panko bread crumbs on top for a crispy crust. Bake in the preheated oven for 25 minutes or until the top is golden and bubbly. For an extra browned finish, switch the oven to broil for the last 2-3 minutes, watching closely to avoid burning.
- Serve. Remove the dish from the oven and garnish with chopped green onion. Serve immediately while hot and enjoy the creamy, spicy comfort food with a crispy topping.
Notes
- Reserve some pasta water before draining to adjust cheese sauce thickness.
- Use fresh kimchi for best flavor; adjust gochujang and gochugaru based on spice preference.
- Broil carefully to prevent burning the topping.
- For extra crunch, add more panko breadcrumbs or bake a few minutes longer.
- This dish pairs well with a light salad or pickled vegetables to balance richness.
Keywords: Kimchi mac and cheese, Korean fusion, cheesy pasta, baked mac and cheese, spicy mac and cheese, comfort food