Cream Cheese Oreo Protein Balls Recipe
Introduction
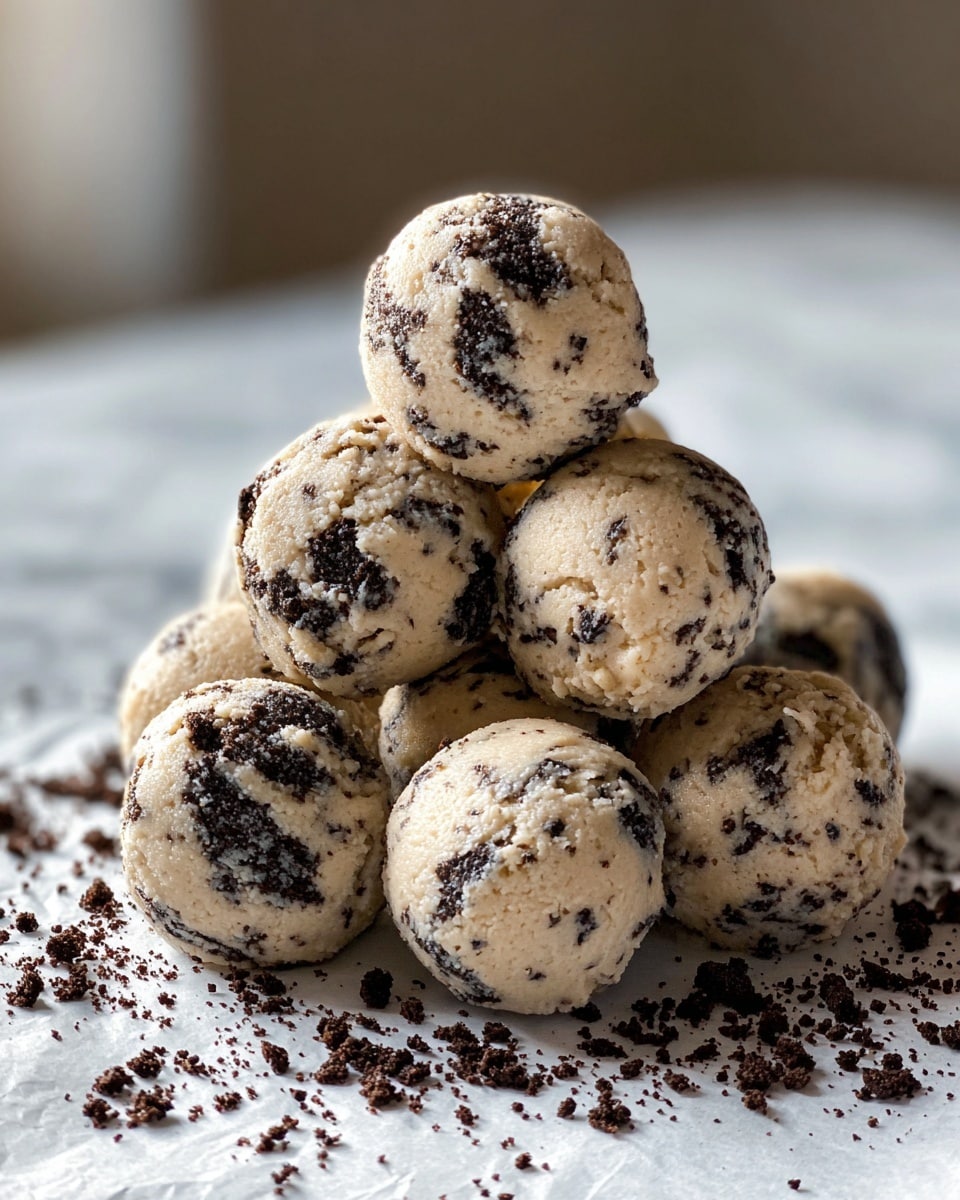
Cream Cheese Oreo Protein Balls are a delicious and satisfying snack that combines creamy, sweet, and protein-packed ingredients. Perfect for a quick energy boost or a treat, these no-bake bites are easy to make and customizable to your taste.
Ingredients
- 8 oz cream cheese, softened
- 15–20 Oreos, crushed
- 1 cup protein powder
- 2–3 tablespoons milk
- 1 teaspoon vanilla extract
- Pinch of salt
- Optional: chocolate chips, nuts, or coconut
Instructions
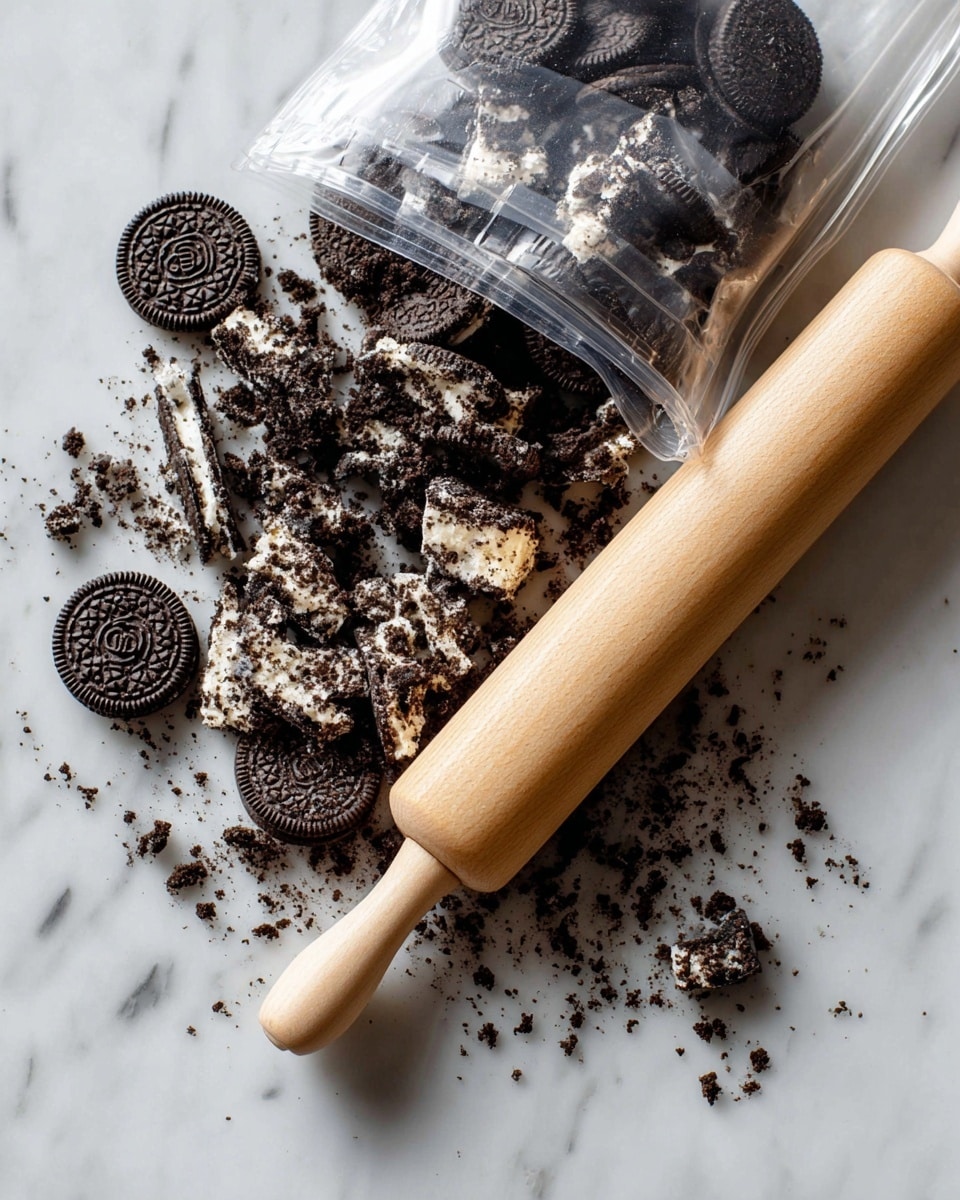
- Step 1: Crush Oreos into fine crumbs using a food processor or by placing them in a bag and crushing with a rolling pin.
- Step 2: In a bowl, mix the crushed Oreos with the softened cream cheese until the mixture is smooth and well combined.
- Step 3: Gradually add the protein powder, stirring continuously to incorporate fully.
- Step 4: Add milk one tablespoon at a time, mixing until a dough-like consistency forms that holds together when rolled.
- Step 5: Stir in vanilla extract, a pinch of salt, and any optional mix-ins like chocolate chips, nuts, or coconut.
- Step 6: Roll the mixture into small balls using your hands, about 1 inch in diameter.
- Step 7: Chill the balls in the refrigerator for at least one hour to firm up. Optional: before serving, coat them in additional Oreo crumbs or shredded coconut for extra texture and flavor.
Tips & Variations
- Use different flavors of protein powder (e.g., chocolate or vanilla) to change up the taste.
- For a firmer texture, reduce the milk slightly or chill longer.
- Add a pinch of cinnamon or instant coffee powder for a subtle flavor twist.
- Substitute cream cheese with Greek yogurt for a lighter version, though the texture will be softer.
Storage
Store the protein balls in an airtight container in the refrigerator for up to one week. For longer storage, freeze them in a single layer on a baking sheet, then transfer to a freezer bag for up to three months. Thaw in the fridge before eating. These balls can be enjoyed cold or at room temperature.
How to Serve
Serve this delicious recipe with your favorite sides.
FAQs
Can I make these protein balls dairy-free?
Yes, substitute cream cheese with a dairy-free alternative like vegan cream cheese or blended silken tofu, and use a plant-based protein powder for a completely dairy-free option.
How many protein balls does this recipe make?
This recipe typically makes about 15–20 protein balls, depending on the size you roll them.
PrintCream Cheese Oreo Protein Balls Recipe

Cream Cheese Oreo Protein Balls are a no-bake, deliciously rich snack combining creamy, tangy cream cheese with crunchy Oreo cookies and protein powder. These bite-sized treats are perfect for a sweet boost of energy, blending indulgence with nutrition. They require minimal preparation and no cooking, making them an ideal quick snack or dessert option.
- Prep Time: 15 minutes
- Cook Time: 0 minutes
- Total Time: 1 hour 15 minutes
- Yield: 15–20 balls 1x
- Category: Snack
- Method: No-Cook
- Cuisine: American
- Diet: Low Salt
Ingredients
Main Ingredients
- 8 oz cream cheese, softened
- 15–20 Oreos, crushed
- 1 cup protein powder
- 2–3 tablespoons milk
- 1 teaspoon vanilla extract
- Pinch of salt
Optional Add-ins
- Chocolate chips
- Nuts
- Coconut flakes
Instructions
- Crush Oreos: Place the Oreos in a sealed plastic bag or food processor and crush until you obtain fine crumbs.
- Mix with cream cheese: In a mixing bowl, combine the crushed Oreos with the softened cream cheese and stir until you get a smooth, uniform mixture.
- Add protein powder: Gradually fold in the protein powder, mixing well to evenly distribute it throughout the mixture.
- Adjust consistency: Add milk, one tablespoon at a time, stirring continuously until a dough that holds together forms.
- Flavor and mix-ins: Stir in the vanilla extract, pinch of salt, and any optional add-ins such as chocolate chips, nuts, or coconut flakes to enhance texture and flavor.
- Shape balls: Using your hands, roll the dough into small bite-sized balls approximately 1 inch in diameter.
- Chill: Place the protein balls on a plate or tray and refrigerate for at least one hour to firm up before serving.
- Optional coating: For extra texture and flavor, roll the chilled balls in additional crushed Oreos or coconut flakes before serving.
Notes
- Make sure the cream cheese is properly softened to achieve a smooth mixture.
- Adjust milk quantity as needed to get the right dough consistency; too much milk will make it too soft to roll.
- These protein balls can be stored in an airtight container in the refrigerator for up to 5 days.
- For a vegan alternative, substitute cream cheese and protein powder with plant-based options.
- Feel free to customize the recipe by adding your favorite mix-ins like chopped nuts, dried fruits, or seeds.
Keywords: protein balls, cream cheese, Oreo snacks, no bake dessert, protein snack, healthy treats, easy recipes