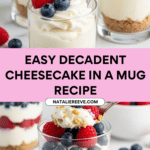
Decadent Cheesecake in a Mug Recipe
Introduction
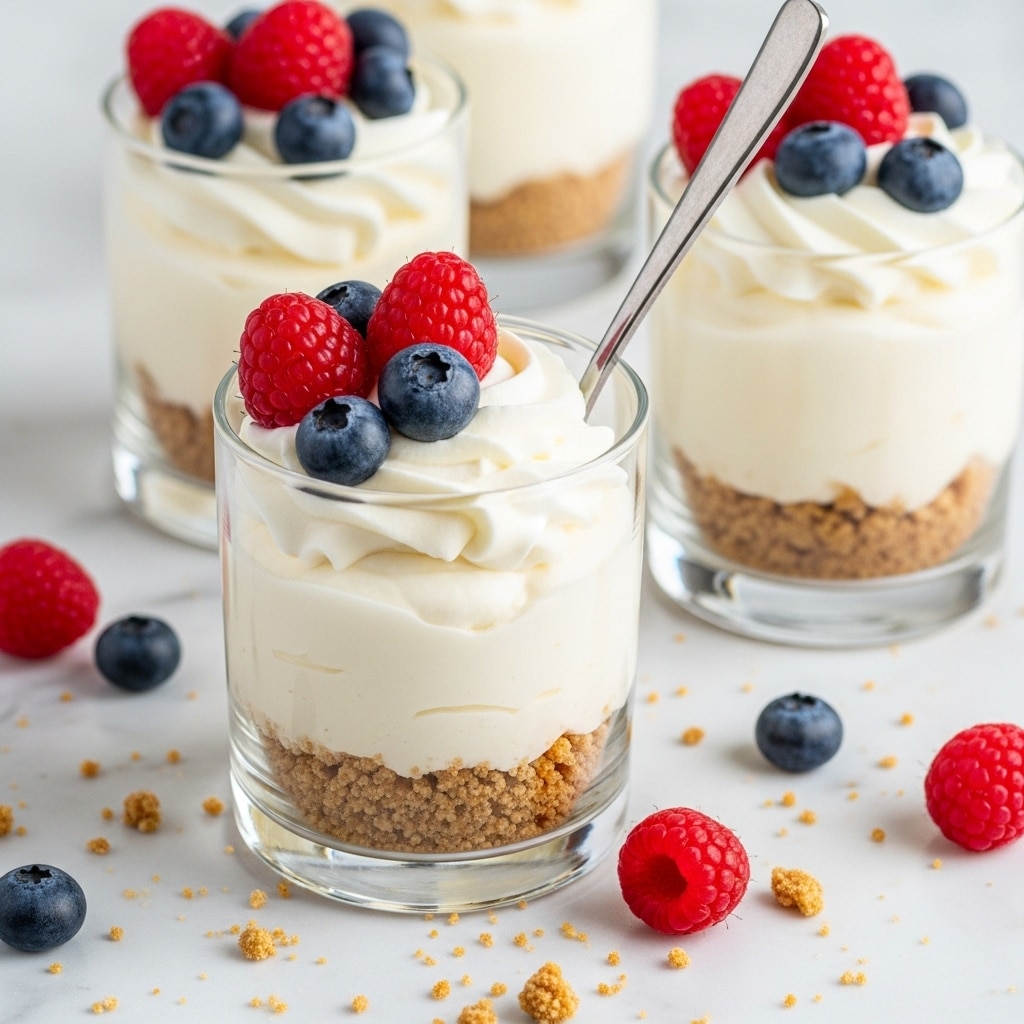
This Decadent Cheesecake in a Mug offers a quick and easy way to enjoy a rich, creamy dessert without the wait. Perfect for a single serving, this recipe combines a buttery graham cracker crust with smooth cheesecake filling, all microwaved in minutes.
Ingredients
- 2 oz cream cheese, softened
- 2 tablespoons sugar
- 1 teaspoon vanilla extract
- 1 tablespoon sour cream
- 1 tablespoon all-purpose flour
- 2 tablespoons crushed graham crackers
- 1 tablespoon melted butter
- 1 tablespoon fresh fruit or chocolate chips for topping (optional)
Instructions
- Step 1: In a small bowl, combine the crushed graham crackers and melted butter until the mixture is evenly moistened. Press this mixture firmly into the bottom of a microwave-safe mug to form the crust.
- Step 2: In another bowl, beat the softened cream cheese with sugar and vanilla extract until smooth and creamy. Add the sour cream and flour, then mix until fully combined and smooth.
- Step 3: Pour the cheesecake filling over the crust in the mug, smoothing the top gently with a spatula or spoon.
- Step 4: Microwave the mug on high for 30 to 40 seconds or until the cheesecake is just set. Be careful to avoid overcooking as it can affect the texture.
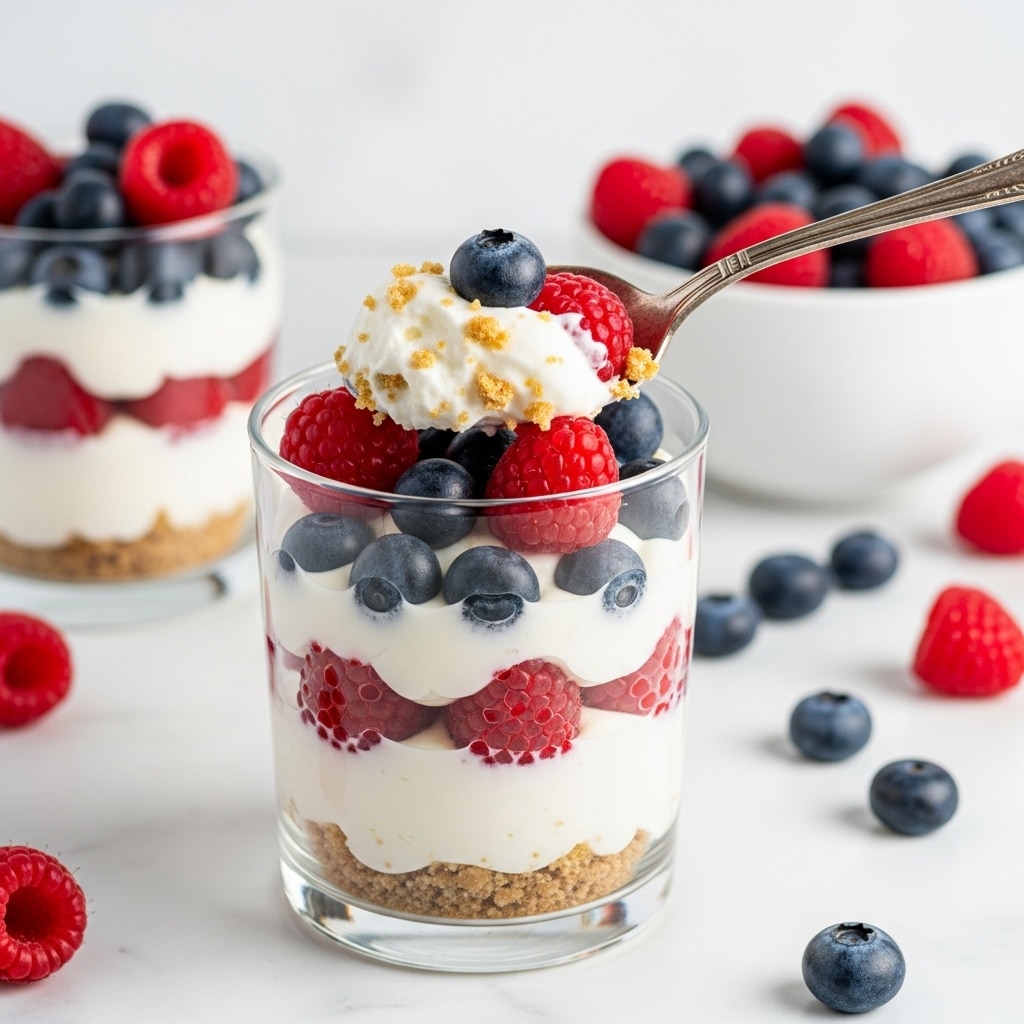
- Step 5: Let the mug cheesecake cool for a few minutes. Add fresh fruit or chocolate chips on top if desired before enjoying your quick and delicious dessert.
Tips & Variations
- Use full-fat cream cheese and sour cream for the creamiest texture.
- Swap graham crackers for digestive biscuits or Oreo crumbs for a different crust flavor.
- Add a pinch of cinnamon or lemon zest to the filling for a flavor twist.
- Try mixing in mini chocolate chips into the filling before microwaving for a chocolate surprise.
Storage
This cheesecake in a mug is best enjoyed fresh but can be refrigerated covered for up to 2 days. To reheat, microwave for about 10-15 seconds until just warm, as overheating may change the texture.
How to Serve
Serve this delicious recipe with your favorite sides.
FAQs
Can I make this cheesecake in a regular oven instead of a microwave?
Yes, you can bake the mug cheesecake in a preheated oven at 325°F (160°C) for about 10-12 minutes, but the microwave method is quicker and more convenient for single servings.
What if I don’t have graham crackers for the crust?
If you don’t have graham crackers, crushed digestive biscuits, vanilla wafers, or even crushed shortbread cookies work well as alternatives for the crust.
PrintDecadent Cheesecake in a Mug Recipe

This Decadent Cheesecake in a Mug is a quick and delicious single-serving dessert, perfect for when you’re craving a creamy, rich cheesecake without the hassle of baking a whole cake. With a buttery graham cracker crust and a smooth cream cheese filling, it’s ready in minutes using your microwave, making it an ideal treat for any time of day.
- Prep Time: 5 minutes
- Cook Time: 1 minute
- Total Time: 6 minutes
- Yield: 1 serving 1x
- Category: Dessert
- Method: Microwaving
- Cuisine: American
Ingredients
Crust
- 2 tablespoons crushed graham crackers
- 1 tablespoon melted butter
Cheesecake Filling
- 2 oz cream cheese, softened
- 2 tablespoons sugar
- 1 teaspoon vanilla extract
- 1 tablespoon sour cream
- 1 tablespoon all-purpose flour
Topping (Optional)
- 1 tablespoon fresh fruit or chocolate chips
Instructions
- Prepare the Crust: In a small bowl, mix the crushed graham crackers with melted butter until fully combined. Press this mixture firmly into the bottom of a microwave-safe mug to create an even crust layer.
- Make the Cheesecake Filling: In another bowl, beat the softened cream cheese with sugar and vanilla extract until smooth and creamy. Then add the sour cream and all-purpose flour, mixing thoroughly until the filling is well combined and free of lumps.
- Assemble: Pour the prepared cheesecake filling over the graham cracker crust in the mug. Use a spatula to smooth out the top evenly, ensuring an even set during cooking.
- Microwave: Place the mug in the microwave and heat on high for 30 to 40 seconds, or until the filling is just set but still slightly jiggly in the center. Be cautious not to overcook, as it can dry out the cheesecake.
- Cool and Serve: Allow the mug cheesecake to cool for a few minutes to reach an ideal texture. Top with fresh fruit or chocolate chips if desired, and enjoy this quick, decadent dessert right from the mug!
Notes
- Ensure cream cheese is softened for smooth mixing.
- Microwave times may vary depending on power, so watch closely to prevent overcooking.
- Use a microwave-safe mug to avoid any hazards.
- For variation, try different toppings like berries, nuts, or caramel sauce.
- The cheesecake is best enjoyed warm or at room temperature shortly after preparation.
Keywords: cheesecake in a mug, quick cheesecake, microwave cheesecake, single serve dessert, easy mug dessert, graham cracker crust cheesecake