Oreo Mochi Recipe
Introduction
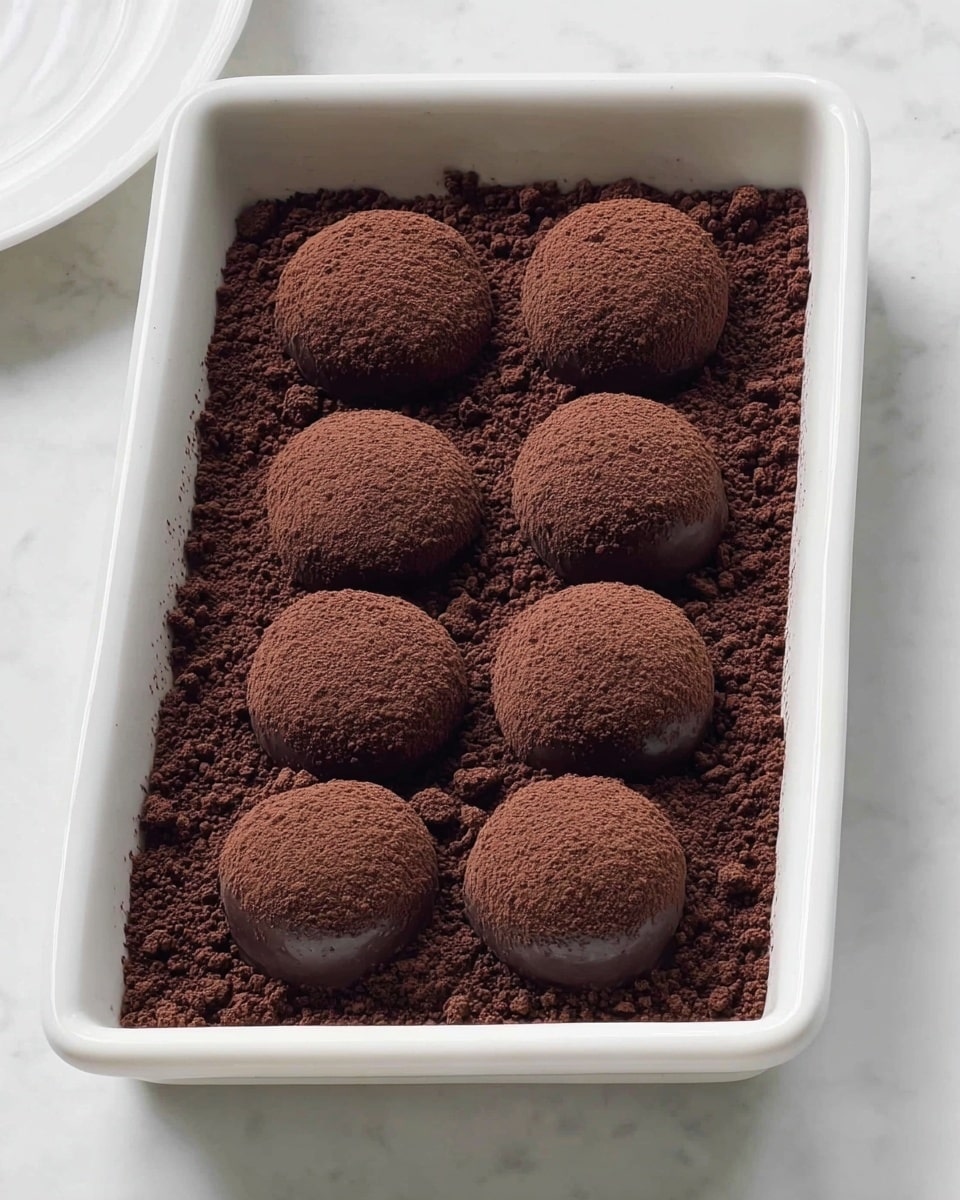
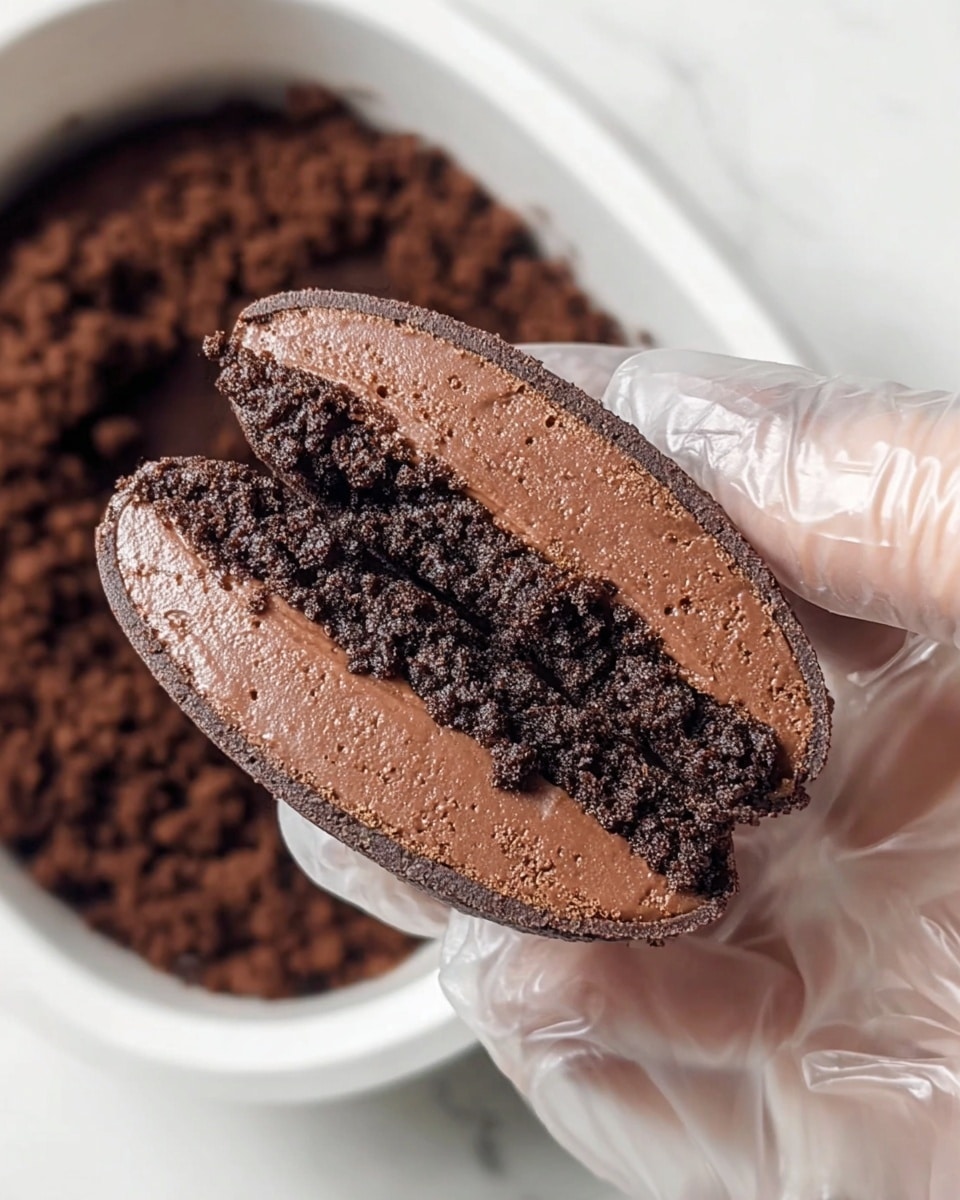
Oreo Mochi is a delightful fusion dessert that combines the chewy texture of traditional mochi with the rich, chocolaty crunch of Oreo cookies. This treat is perfect for those who love unique sweets that are both soft and flavorful.
Ingredients
- 150 g glutinous rice flour
- 30 g cornstarch
- 12 g cocoa powder
- 30 g white sugar
- 30 g corn oil
- 250 g milk
- 8 Oreo cookies (crushed)
Instructions
- Step 1: In a large bowl, combine the glutinous rice flour, cornstarch, cocoa powder, white sugar, corn oil, and milk. Stir well until the mixture is smooth and free of lumps.
- Step 2: Strain the batter through a sieve to remove any small particles, then pour it into a pot.
- Step 3: Cook the batter over low heat, stirring continuously. Keep stirring as it thickens into a dough-like consistency that no longer sticks to the pot. Remove from heat once ready.
- Step 4: Transfer the dough onto a cooling rack or countertop. When it’s cool enough to handle, stretch and pull the dough repeatedly until it becomes smooth and elastic.
- Step 5: Pinch off small portions and roll them into evenly sized balls using your fingers.
- Step 6: Roll each mochi ball in the crushed Oreo cookies until fully coated for a crunchy and flavorful finish.
Tips & Variations
- For a dairy-free version, substitute the milk with almond or coconut milk.
- Try adding a pinch of salt to balance the sweetness.
- Use different cookie crumbs like chocolate chip or graham crackers for unique flavors.
- Keep your hands slightly oiled when shaping the dough to prevent sticking.
Storage
Store Oreo Mochi in an airtight container at room temperature for up to 2 days to maintain chewiness. For longer storage, refrigerate for up to 5 days, but let them come to room temperature before serving. Avoid freezing as it can affect the chewy texture. Reheat gently in a microwave for 10-15 seconds if needed.
How to Serve
Serve this delicious recipe with your favorite sides.
FAQs
Can I use regular rice flour instead of glutinous rice flour?
Regular rice flour does not have the same sticky properties as glutinous rice flour and will result in a less chewy texture. It’s best to use glutinous rice flour for authentic mochi.
How do I prevent the mochi dough from sticking to my hands?
Lightly oiling your hands or dusting them with cornstarch or glutinous rice flour will make handling the dough easier and prevent sticking during shaping.
PrintOreo Mochi Recipe

Oreo Mochi is a delightful Japanese-inspired treat featuring chewy glutinous rice dough infused with cocoa powder and coated in crushed Oreo cookies for a unique blend of textures and flavors. This no-bake, stovetop-prepared dessert offers a chewy, chocolatey bite with a crunchy Oreo exterior, perfect for a sweet snack or party treat.
- Prep Time: 10 minutes
- Cook Time: 15 minutes
- Total Time: 25 minutes
- Yield: 12–15 mochi balls 1x
- Category: Dessert
- Method: Stovetop
- Cuisine: Japanese fusion
- Diet: Vegetarian
Ingredients
Dry Ingredients
- 150 g glutinous rice flour
- 30 g cornstarch
- 12 g cocoa powder
- 30 g white sugar
Wet Ingredients
- 30 g corn oil
- 250 g milk
Coating
- 8 Oreo cookies (crushed)
Instructions
- Mix the ingredients: In a large bowl, add the glutinous rice flour, cornstarch, cocoa powder, white sugar, corn oil, and milk. Stir until the mixture is smooth and free of lumps. This ensures a silky, uniform batter.
- Sift the batter: Strain the mixture to remove any small particles that may remain, ensuring the mochi texture will be smooth. Once sifted, pour the batter into a pot.
- Heat and stir: Place the pot over low heat. Stir the batter continuously as it thickens. Keep stirring until the batter starts to form a dough-like consistency and no longer sticks to the sides or bottom of the pot. Turn off the heat once this texture is reached.
- Pull the dough: Transfer the cooked dough to a cooling rack or countertop to cool slightly. Once it’s safe to handle, begin stretching and pulling the dough repeatedly. This step builds the elasticity that gives mochi its signature chewy texture. Keep pulling until the dough is smooth and stretchy.
- Form the mochi balls: Take small portions of the dough and roll them into evenly sized balls. Use your fingers to gently shape them.
- Coat with Oreo crumbs: Roll each mochi ball in the crushed Oreo cookies, making sure the balls are fully coated. The Oreo crumbs will add a crunchy texture that complements the chewy mochi.
Notes
- Use low heat and continuous stirring to avoid burning the batter during cooking.
- Crush Oreos finely for a more even coating and better texture contrast.
- Cool the dough sufficiently before handling to prevent burning your hands.
- For a dairy-free version, substitute milk with almond milk or coconut milk.
- Store finished mochi in an airtight container at room temperature for up to 2 days or refrigerate for up to 4 days.
Keywords: Oreo mochi, chocolate mochi, glutinous rice dessert, chewy mochi balls, Oreo coated mochi, easy mochi recipe