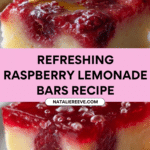
Raspberry Lemonade Bars Recipe
Introduction
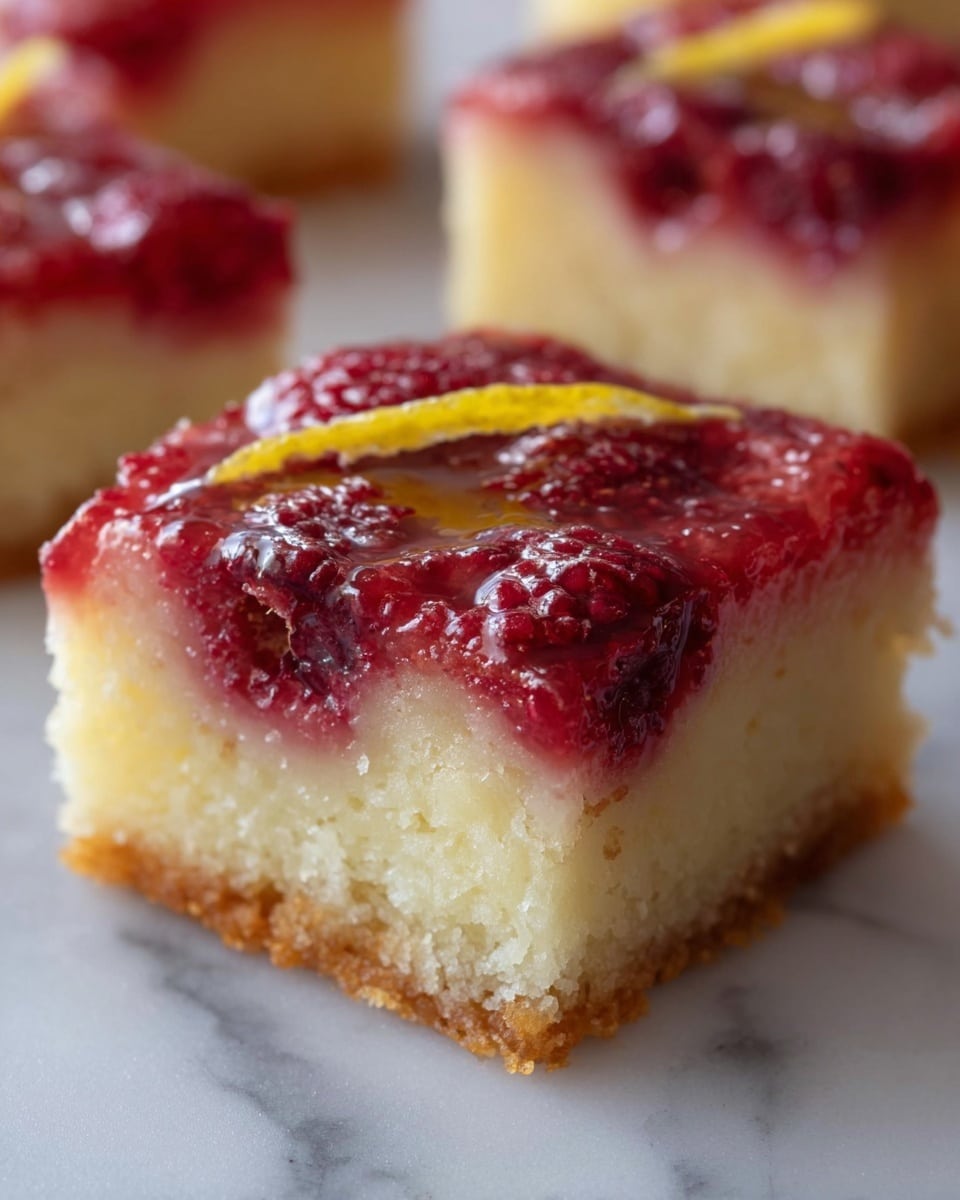
Raspberry Lemonade Bars are a bright and tangy treat perfect for any season. These bars combine fresh raspberries with zesty lemon for a refreshing burst of flavor in every bite. Easy to make and ideal for sharing, they’re sure to become a favorite dessert.
Ingredients
- 1/2 cup butter (softened)
- 3/4 cup granulated sugar
- 2 eggs
- 1 tbsp lemon juice
- 1/4 tsp salt
- Zest of 1/2 lemon
- 3/4 cup all-purpose flour
- 3/4 to 1 cup fresh raspberries
- 1 cup powdered sugar
- 1 tbsp seedless raspberry jam
- 1 tbsp lemon juice (for glaze)
- Zest of 1/2 lemon (for glaze)
Instructions
- Step 1: Preheat your oven to 350°F (175°C) and grease a baking dish.
- Step 2: In a mixing bowl, combine the softened butter and granulated sugar until creamy. Add the eggs, 1 tablespoon lemon juice, salt, and lemon zest, then mix well.
- Step 3: Gradually add the all-purpose flour to the mixture and stir until just combined. Gently fold in the fresh raspberries to avoid crushing them.
- Step 4: Pour the batter into the prepared dish and spread evenly. Bake for 25 minutes or until the bars are set and lightly golden.
- Step 5: While the bars bake, prepare the glaze by mixing powdered sugar, raspberry jam, 1 tablespoon lemon juice, and lemon zest in a small bowl until smooth.
- Step 6: After baking, allow the bars to cool completely. Spread the glaze evenly over the top, then cut into squares and serve.
Tips & Variations
- Use frozen raspberries if fresh are out of season, but gently thaw and drain them before folding into the batter to prevent excess moisture.
- For a tangier glaze, add a little extra lemon juice gradually until you reach your preferred flavor.
- Swap raspberry jam for strawberry or apricot jam for a different fruity twist.
Storage
Store the raspberry lemonade bars in an airtight container in the refrigerator for up to 5 days. Allow them to come to room temperature before serving, or enjoy chilled. You can also freeze the bars without glaze for up to 2 months; thaw in the fridge and reapply glaze before serving.
How to Serve

Serve this delicious recipe with your favorite sides.
FAQs
Can I use frozen raspberries in this recipe?
Yes, frozen raspberries can be used. Thaw them fully and drain any excess liquid before folding the berries into the batter to avoid making the bars soggy.
How do I make sure the bars don’t come out too mushy?
Be careful not to overmix the batter, especially after adding the flour. Also, folding in the raspberries gently helps keep the texture intact. Baking until set but not overbaking will ensure firm, but tender bars.
PrintRaspberry Lemonade Bars Recipe

Delicious Raspberry Lemonade Bars featuring a buttery shortbread base filled with fresh raspberries and a tangy lemon glaze. These bars are perfect for summer gatherings or a refreshing treat any time of year.
- Prep Time: 15 minutes
- Cook Time: 25 minutes
- Total Time: 40 minutes
- Yield: 9–12 bars 1x
- Category: Dessert
- Method: Baking
- Cuisine: American
Ingredients
For the Bars
- 1/2 cup butter (softened)
- 3/4 cup granulated sugar
- 2 eggs
- 1 tbsp lemon juice
- 1/4 tsp salt
- Zest of 1/2 lemon
- 3/4 cup all-purpose flour
- 3/4 – 1 cup fresh raspberries
For the Glaze
- 1 cup powdered sugar
- 1 tbsp seedless raspberry jam
- 1 tbsp lemon juice
- Zest of 1/2 lemon
Instructions
- Preheat Oven: Preheat your oven to 350°F (175°C) and grease a baking dish to prepare it for the batter.
- Make the Batter: In a mixing bowl, combine the softened butter and granulated sugar until creamy. Add in the eggs, lemon juice, salt, and lemon zest, mixing well to incorporate all ingredients.
- Add Flour and Raspberries: Gradually add the all-purpose flour to the mixture, stirring until fully combined. Gently fold in the fresh raspberries to distribute evenly without breaking them.
- Bake the Bars: Pour the batter into the prepared baking dish and spread it evenly. Bake in the preheated oven for 25 minutes or until the bars are set and a toothpick inserted in the center comes out clean.
- Prepare the Glaze: While the bars bake, mix together powdered sugar, seedless raspberry jam, lemon juice, and lemon zest in a small bowl until smooth and glossy.
- Cool and Glaze: Once baked, allow the raspberry lemonade bars to cool completely in the dish. Then, spread the prepared glaze evenly over the top.
- Serve: Cut the bars into squares and serve as a refreshing dessert or snack.
Notes
- For best results, use fresh, ripe raspberries to ensure natural sweetness and vibrant color.
- Be gentle when folding in raspberries to avoid them breaking and turning the batter pink.
- The lemon zest adds bright citrus flavor, so avoid the white pith which is bitter.
- If you prefer a thicker glaze, reduce the lemon juice slightly or add more powdered sugar.
- Store any leftovers in an airtight container in the refrigerator for up to 3 days.
Keywords: raspberry lemonade bars, lemon bars with raspberries, summer dessert, berry lemon bars, easy baked bars